

Key Takeaways
What Number Porting Actually Means
When you switch from one wireless carrier to another, you don't have to give up the phone number you've had for years. The process of moving your number to a new carrier is called number porting, and it's protected by federal regulation. The FCC requires carriers to complete most port requests within one business day, though in practice the handoff often happens within a few hours.
Before getting into the steps, it's worth understanding a few terms that come up during this process. If phrases like MVNO, SIM card, or account PIN are unfamiliar, reviewing plain-English definitions of carrier terms will help you navigate the process more confidently.
One critical point: the porting process is initiated by your new carrier, not your old one. You do not need to call your current carrier to start a transfer. What you do need is a small amount of account information - and a clear understanding of what not to do before the port completes.
What you will need
Before You Start: Check Your Phone's Lock Status
Your phone may be carrier-locked, meaning it's programmed to work only on your current carrier's network. If you plan to bring your existing device to a new carrier rather than buying a new one, you'll need to confirm it's unlocked first. Carriers are required to unlock devices once contract obligations are met, but policies vary. Understanding carrier locking and how unlocking works can save you from discovering compatibility issues mid-switch.
Also take time to review the new carrier's plan details carefully before committing. Verifying coverage, data policies, and contract terms before you sign up prevents surprises on your first bill.
Current carrier account number
Required by the new carrier to authorize the number transfer request.
Account PIN or transfer PIN
Verifies your identity and authorizes the port; without it, the transfer cannot proceed.
Unlocked or compatible phone
Ensures your device can connect to the new carrier's network.
New carrier SIM card
The physical or eSIM credential that connects your phone to the new network.
Step-by-Step: How to Port Your Number
Follow these steps in order. The most common mistakes happen when people skip steps or act too quickly.
Gather your current account information
Log in to your current carrier's account portal or call their customer service to retrieve your account number and PIN. These are not the same as your phone's lock screen passcode. Write them down exactly - a single digit error will delay your port request.
Sign up with the new carrier (do not cancel your old plan yet)
Choose a plan with your new carrier and begin the signup process. When prompted, indicate that you want to keep your existing number. You'll be asked to enter your current phone number, account number, and account PIN from your old carrier.
Install the new SIM card or activate eSIM
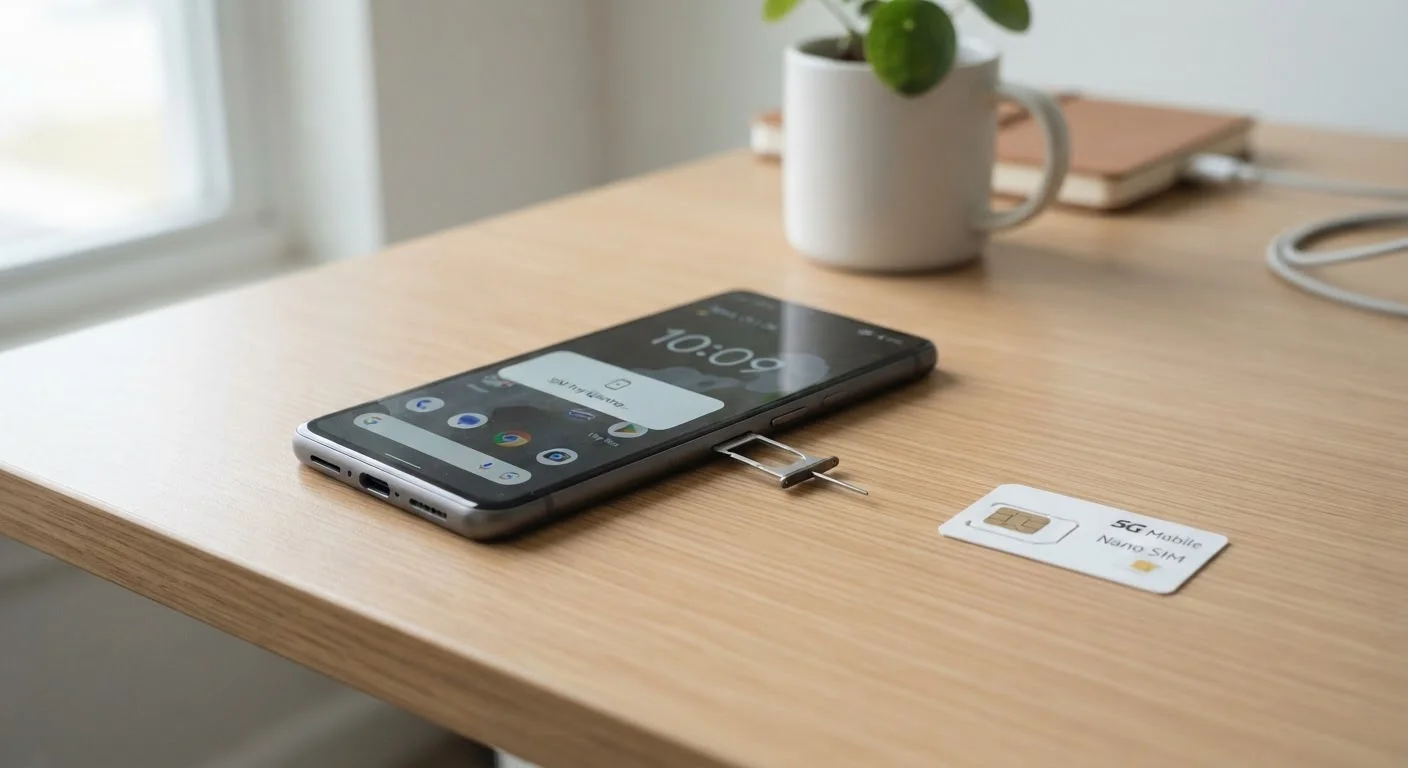
Your new carrier will provide either a physical SIM card or instructions for activating an eSIM (an embedded digital SIM). Follow their setup instructions precisely. If using a physical SIM, power down your phone before swapping cards.
Wait for the port to complete
The new carrier submits the port request to your old carrier on your behalf. Most ports complete within a few hours; some can take up to one business day. During this window, keep both SIMs accessible if possible, or simply wait before trying to make calls.
Confirm service and test your number
Once the port completes, your phone should show signal from the new carrier. Make a test call to confirm your number works correctly, and send a text message to verify SMS is functioning. Check that mobile data is also active by loading a webpage without Wi-Fi.
Never Cancel Your Old Account First
The single most common mistake people make when switching carriers is canceling their old account before the port is initiated or completed. Once an account is closed, the number associated with it is released and may be reassigned. If that happens, you cannot recover your old number. Always let the porting process finish before taking any action to close your previous account.
After the Port: What to Expect
Once the port completes, your old carrier's service will stop working automatically - you don't need to make a separate cancellation call in most cases, though some carriers require it for billing purposes. Confirm with your new carrier whether any action is needed on your end to close the old account.
If you experience any service issues in the first 24-48 hours, such as calls going to voicemail unexpectedly or data not connecting, try restarting your phone and confirming the new SIM is properly seated. Most issues resolve on their own as network provisioning completes.
For a broader orientation to how wireless service works - from network types to plan structures - this complete guide to phones and plans is a useful reference whether you're new to the process or just want to fill in gaps.