

Key Takeaways
Understanding Drywall Damage and When DIY Makes Sense
Drywall - also called gypsum board or sheetrock - is the standard interior wall material in most American homes built after the 1950s. It's durable for day-to-day use, but nails, doorknobs, water damage, and settling cracks can leave it needing repair. The good news is that most drywall damage falls into predictable categories with well-established fixes.
The key variable is hole size. Small nail holes and minor surface dings are genuinely beginner-friendly. Medium holes - say, from a doorknob punch-through or a removed wall anchor - require a bit more patience and technique. Large holes, such as those left by plumbing access or accident damage, involve installing a new drywall section and are best classified as intermediate DIY work.
If your damage includes signs of water staining, mold, or soft, crumbling gypsum, the underlying moisture problem must be resolved before any cosmetic repair. Repairing over active water damage will only delay a bigger - and more expensive - problem. See our guide on when to call a professional if you're unsure whether a repair is within safe DIY territory.
Check for Hidden Wiring and Plumbing
Before cutting into any wall, use a stud finder with AC wire detection, or consult your home's blueprints, to confirm there are no electrical cables, pipes, or ductwork behind the damaged area. Cutting into live wiring is a serious safety hazard. If you have any doubt, stop and contact a licensed electrician or plumber before proceeding.
Tools, Materials, and Setup
Gathering the right supplies before you begin saves multiple trips to the hardware store and keeps the job moving efficiently. The list varies by repair size, but the core kit is consistent across most projects.
Putty knife or taping knife (4-6 inch)
Applies and smooths joint compound or spackling into and around the repair area.
Drywall saw or jab saw
Cuts clean edges around damaged drywall sections when creating a patch opening.
Self-adhesive mesh patch
Provides backing and reinforcement for medium-sized holes without requiring a backer board.
Sandpaper (120 and 220 grit)
Smooths dried joint compound between coats and prepares the surface for paint.
Stud finder
Locates studs and detects hidden wiring before cutting into the wall.
Joint compound (all-purpose)
Fills the repair area and is feathered out to blend the patch with the surrounding wall surface.
Primer
Seals the repaired area before painting to ensure an even, blended finish.
Drywall screws and backing wood (1x3 or 1x4 boards)
Secures replacement drywall sections for large hole repairs.
Set up your workspace with drop cloths beneath the repair area. Good lighting - ideally a portable work light - helps you spot surface irregularities as you apply and sand compound. Keep a spray bottle of water nearby: if pre-mixed joint compound starts to stiffen while you work, a small amount of water stirred in restores workable consistency.
Step-by-Step Repair Instructions
Follow these steps in order, adapting your approach based on the repair size identified in Step 1. Allow compound to dry fully between coats - rushing this stage is the most common reason DIY drywall repairs remain visible after painting.
Assess the damage and choose your repair method
Start by measuring the hole or damaged area. This determines which repair technique to use:
- Under ½ inch: Spackling compound alone, no patch needed.
- ½ inch to 6 inches: Self-adhesive mesh patch plus joint compound.
- Over 6 inches: Cut out a clean rectangle, install wood backing, and screw in a replacement drywall piece.
Also check the wall surface texture so you can match it during finishing.
Scan the wall and prepare the work area
Run a stud finder over the repair area to map stud locations and check for wiring. Lay drop cloth or plastic sheeting on the floor below the wall to catch dust and debris. For large repairs, use a utility knife or drywall saw to cut a clean rectangular opening - straight edges create far better patch seams than jagged ones.
Install backing or apply the mesh patch
For small holes (under ½ inch): Skip this step and proceed directly to applying spackling.
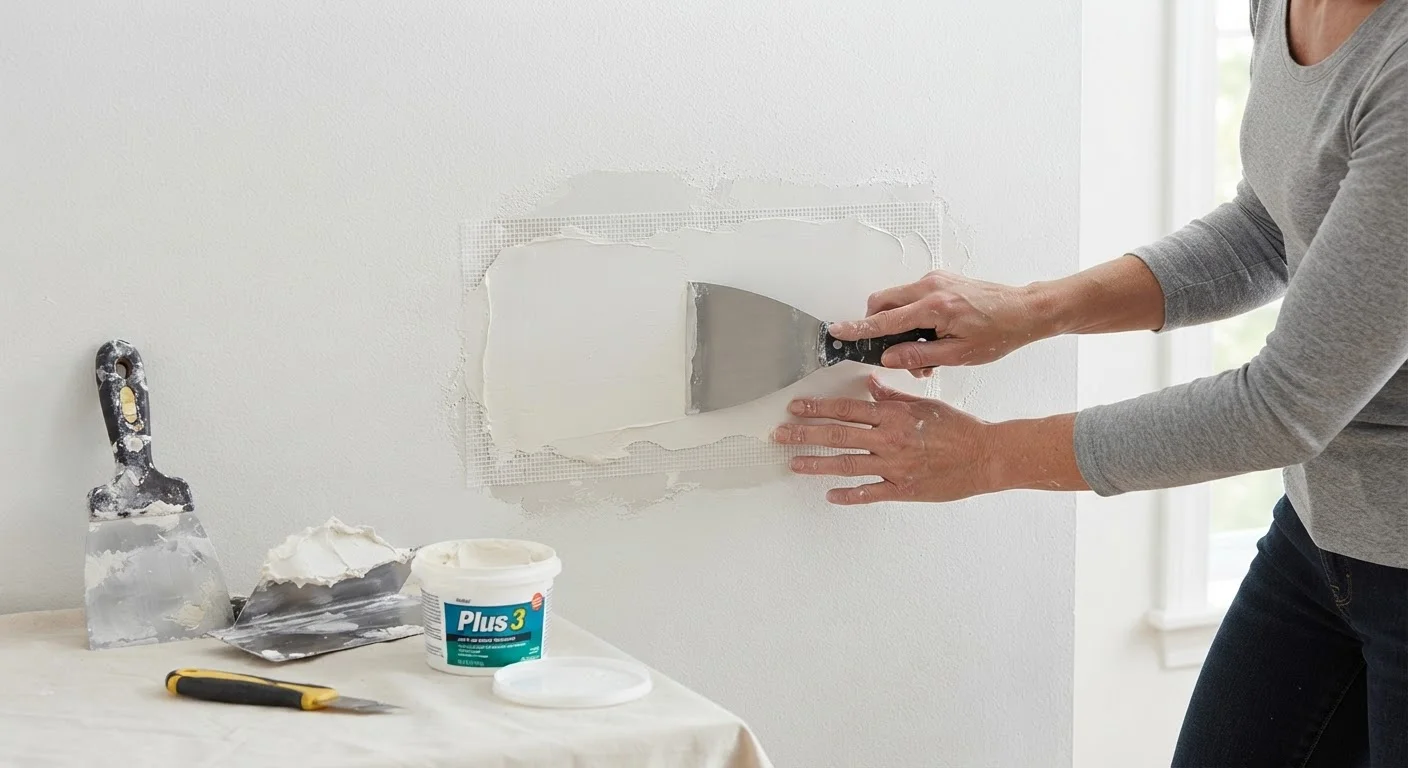
For medium holes: Center a self-adhesive mesh patch over the hole and press it firmly onto the surrounding wall surface.
For large holes: Cut two lengths of 1×3 or 1×4 lumber slightly longer than the hole's height. Slide each board into the opening so half of it is behind the existing drywall on each side, and secure with drywall screws. Then cut a replacement drywall piece to fit snugly and screw it into the backing boards.
Apply the first coat of joint compound
Using a 4-6 inch taping knife, spread a thin, even coat of all-purpose joint compound over the mesh, patch seams, or filled hole. Feather the edges outward at least 2-3 inches beyond the repair's border. Avoid over-loading the knife - thin coats dry more evenly and are less prone to cracking. For screw dimples, a single stroke across each dimple is enough for the first coat.
Sand, repeat coats, and feather smooth
Allow each coat to dry completely - typically 24 hours at normal indoor temperature and humidity. Once dry, lightly sand with 120-grit sandpaper to remove ridges and high spots, then wipe away dust with a damp cloth. Apply a second and, for larger repairs, a third coat, feathering each coat 2-3 inches wider than the last. Final sanding with 220-grit paper should leave the surface indistinguishable from the surrounding wall.
Prime and paint to match
Apply a coat of drywall primer to the repaired area before painting. Joint compound is highly porous and will absorb paint unevenly without primer, leaving a dull spot - called flashing - even after multiple paint coats. Once the primer dries, apply your wall paint. If matching an existing color, test a small patch first, as colors can shift slightly with age. Textured walls may require a spray texture product or a stipple technique with a sponge before priming.
Match Your Wall Texture Before Painting
Smooth walls are the easiest to blend, but many American homes have orange peel, knockdown, or popcorn textures. Study the existing texture closely and test your technique on a scrap piece of drywall before applying it to the wall. Aerosol texture sprays are widely available and can closely approximate most common textures.
Common Mistakes and How to Avoid Them
Even experienced DIYers run into a few predictable pitfalls with drywall repair. Here's what to watch for:
- Too-thick compound coats: Thick applications crack as they dry and take far longer to cure. Thin, feathered coats are always better.
- Skipping primer: Bare joint compound absorbs paint differently than the surrounding wall, creating a visible dull patch even under multiple coats of paint.
- Not feathering wide enough: A repair blended only to the edge of the patch creates a detectable hump. Each coat should extend further than the last.
- Sanding too aggressively: Over-sanding can break through the compound layer or even damage the paper face of adjacent drywall, creating new problems.
With patience and attention to these details, most homeowners can achieve a repair that disappears entirely under a fresh coat of paint.