

Key Takeaways
Why Gutter Cleaning Belongs on Your Maintenance Calendar
Gutters do one job: move rainwater away from your roof, walls, and foundation. When they're clogged, that water has nowhere to go. It can seep under shingles, rot fascia boards, stain siding, and - most expensively - saturate soil next to your foundation, leading to basement leaks or structural settling. The full scope of gutter-related damage often surprises first-time homeowners who assumed the system was low-stakes.
For most US homes, cleaning gutters twice a year - once in late spring after tree seeds and pollen have settled, and once in late fall after deciduous trees have dropped their leaves - is the baseline. Homes under heavy tree cover, particularly pine trees (which shed needles year-round), may need quarterly attention. If you're new to homeownership, our introduction to routine maintenance covers where gutters fit within the broader maintenance picture.
Work Smarter With the Right Timing
Slightly damp debris is easier to scoop than bone-dry leaves, which create dust, or soaking-wet muck, which is heavy and messy. Aim to clean gutters one or two days after a light rain for the easiest removal. Scheduling in late November after most leaves have fallen means you won't repeat the job a week later.
What You'll Need Before You Start
Having the right tools on hand before you climb a single rung saves time and reduces risk. Review the list below and confirm you have everything ready at ground level.
Extension ladder (fiberglass preferred)
Provides safe, stable access to gutters along the roofline.
Ladder stabilizer (stand-off arms)
Keeps the ladder away from the gutter channel so you don't crush it, and adds stability.
Work gloves (rubber-coated)
Protects hands from sharp metal edges, debris, and bacteria in decomposing leaves.
Safety glasses or goggles
Shields eyes from debris dislodged during cleaning or flushing.
Gutter scoop or garden trowel
Removes packed debris efficiently without scratching gutter surfaces.
Garden hose with spray nozzle
Flushes remaining debris toward downspouts and tests drainage flow.
Bucket or tarp
Collects debris to minimize cleanup time on the ground below.
Plumber's snake or drain auger
Clears stubborn clogs inside downspout pipes that water pressure alone won't remove.
Review the prerequisites as well - particularly the requirement for a second person. Working alone on a ladder is a significant safety risk that no amount of convenience justifies.
What you will need
Step-by-Step Cleaning and Inspection
Follow these steps in order. Resist the temptation to rush or skip the inspection phase - catching a minor issue like a loose hanger now is far less costly than repairing damaged fascia or foundation drainage later.
Ladder Safety Is Non-Negotiable
Falls from ladders are one of the most common causes of serious home-improvement injuries. Never work on a ladder alone - always have a second person present to stabilize the base. Do not lean or reach beyond the sides of the ladder; reposition it instead. If your roofline exceeds one story and you are uncomfortable working at height, hire a qualified gutter-cleaning professional.
Gather your tools and check conditions
Collect all tools listed above before climbing. Inspect your ladder for cracked rungs, bent rails, or missing rubber feet. Confirm the weather is dry and winds are calm. Wear your gloves, safety glasses, and non-slip shoes before approaching the ladder.
Set up the ladder correctly
Position the ladder on firm, level ground at a 75-degree angle - roughly one foot of base distance for every four feet of height. Use a ladder stabilizer to keep the feet away from the gutter trough. Have your helper hold the base throughout. Never prop a ladder against the gutter itself, as aluminum gutters can bend under direct pressure.
Remove debris by hand or with a scoop
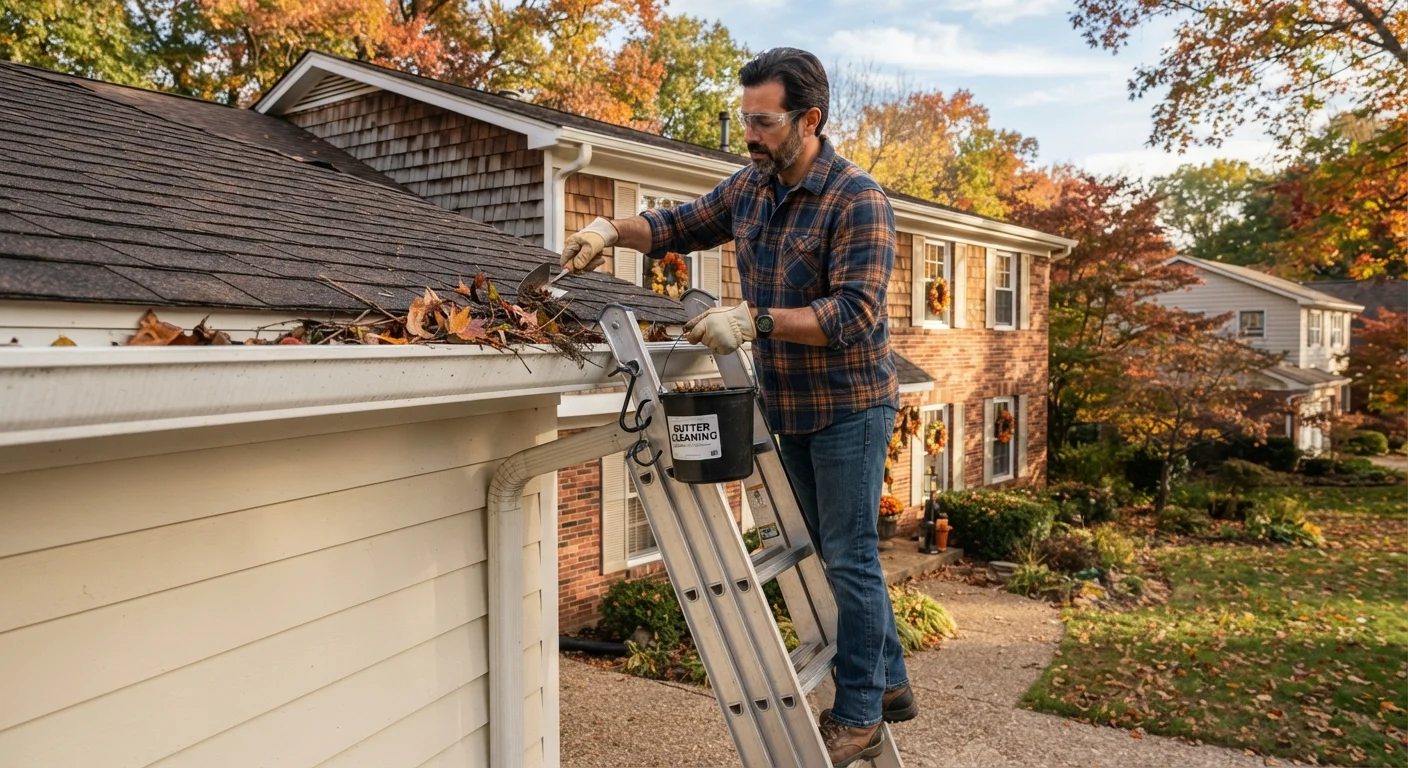
Starting at the end farthest from the downspout, use a gutter scoop or gloved hand to lift out leaves, shingle grit, seed pods, and compacted debris. Drop material into your bucket or onto a tarp below. Work toward the downspout opening in short, manageable sections, repositioning the ladder frequently rather than reaching sideways.
Flush the gutter channel with a hose
Starting at the high end of the gutter run, run water from your garden hose toward the downspout. This clears fine grit and reveals whether water flows smoothly to the outlet. Watch for pooling - water that sits in the middle of the channel indicates the gutter has sagged or lost its slope (gutters should drop roughly a quarter-inch for every 10 feet of run).
Clear downspout clogs
Direct the hose into the top of the downspout at full pressure. If water backs up rather than draining, there is a clog inside the pipe. Insert a plumber's snake or drain auger from the bottom opening to break up the blockage, then flush again from the top. Stubborn clogs may require disassembling the downspout elbow - most are held by sheet-metal screws and can be reattached.
Inspect gutters and fasteners for damage
While the gutter is clean and visible, look for the following issues:
- Sagging sections: Indicate failed or missing gutter hangers (spikes or hidden brackets). Hangers can often be re-secured with gutter screws.
- Separated joints or end caps: May be re-sealed with gutter sealant after drying thoroughly.
- Rust spots or holes: Small holes can be patched with flashing and sealant; widespread rust often signals replacement is needed.
- Improper slope: Sections that hold standing water need hanger adjustment.
Also check that the fascia board behind the gutter is solid, not soft or rotted, as it carries the gutter's weight.
Clean up and document your findings
Bag and dispose of debris per your local green-waste guidelines. Rinse any tools and store the ladder safely. Take a few photos of any damage you observed - this helps you track progression over time and provides useful documentation if you decide to contact a contractor. Note the date of service so you can stay on schedule for the next cleaning.
When to Call a Professional
Not every gutter situation is a safe or practical DIY job. Consider hiring a qualified professional when:
- Your roofline is more than one story and you are uncomfortable working at height.
- Fascia boards feel soft or spongy, indicating rot that may require carpentry repair before new gutters can be secured.
- You notice widespread rust, multiple separated joints, or gutters that are visibly pulling away from the house.
- Overhead utility lines run close to your work area.
Our guide to knowing when to call a pro can help you weigh the decision honestly. Gutter cleaning is well within reach for most homeowners - but only when the conditions are safe. If fall is approaching, this task pairs naturally with the broader checklist in getting your home ready before winter.