

Key Takeaways
Why Air Leaks Are Worth Finding Before They Find You
Most homeowners think of drafts as a comfort issue - an annoying chill near a window or a door that's hard to keep warm. In reality, air leaks do two kinds of damage: they drive up energy costs steadily over time, and they carry moisture into wall cavities, attic spaces, and framing where it can cause rot and mold long before you notice it on the surface.
The U.S. Department of Energy has consistently identified air sealing as one of the most cost-effective home improvements available to homeowners - more so than many upgrades that cost far more. The work required is within reach of most homeowners with basic tools and a free afternoon. As part of a broader seasonal routine, it fits naturally alongside the checks described in our guide to getting your home ready before winter arrives.
The challenge is that the worst leaks are rarely obvious. They hide behind walls, under trim, and in structural transitions that don't get casual attention. That's why a methodical survey matters more than just patching the gaps you already know about.
Test on a Windy Day for Best Results
Air infiltration is much easier to detect when outdoor wind pressure is working in your favor. Choose a breezy day and close all windows and doors before doing your walkthrough. Hold a lit incense stick or a damp hand near suspect areas - any movement in the smoke or cooling sensation on your skin signals a leak worth sealing.
What to Seal and Where - The Full Picture
Door and window perimeters are the obvious starting points, but the full picture of where air and water enter a home is broader. Here are the locations that catch homeowners off guard:
- Attic hatch perimeters - often bare wood with no seal at all
- Basement rim joists - the framing transition between foundation and floor can be wide open to outside air
- Exterior wall penetrations - around pipe chases, dryer vents, electrical conduit, and cable entry points
- Fireplace dampers - if your fireplace isn't in use, an open or poorly sealed damper is essentially an open hole in your ceiling
- Recessed lighting on top floors - many older can lights are not air-sealed and connect directly to attic space
Each of these spots can be addressed with caulk, weatherstripping, or in some cases spray foam - all materials available at any hardware store. The steps above walk you through identifying which material fits each situation.
Caulk gun
Dispenses caulk in a controlled, steady bead along joints and gaps.
Paintable or silicone caulk
Fills stationary cracks and gaps around window frames, door casings, and penetrations.
Foam weatherstripping tape
Compresses to seal gaps on door and window stop moldings.
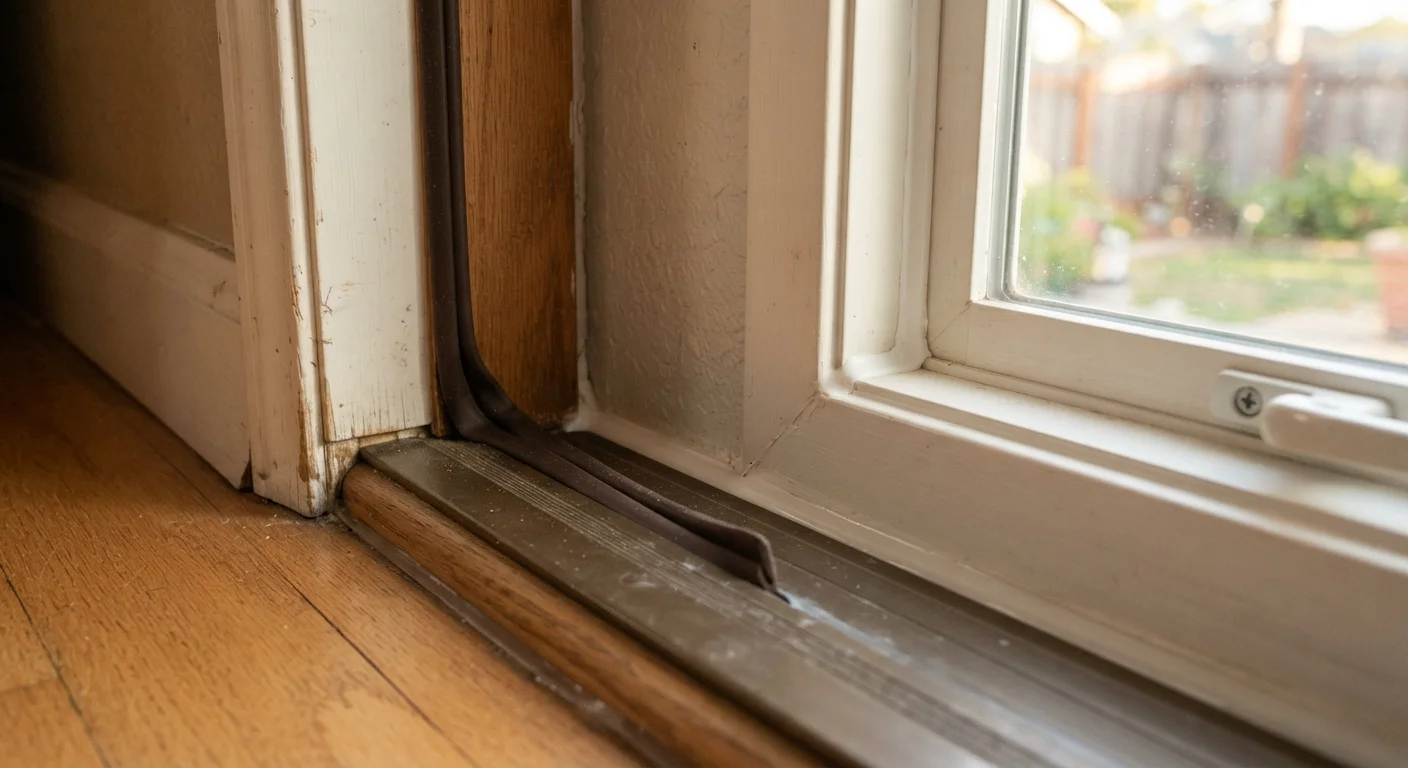
V-strip (tension seal) weatherstripping
Fits into door and window channels to block drafts along sliding surfaces.
Door sweep
Attaches to the bottom of an exterior door to seal the gap between door and threshold.
Putty knife or caulk removal tool
Strips old, cracked caulk cleanly before a fresh application.
Incense sticks or a candle
Used to detect air movement near suspected leak points.
Flashlight
Illuminates dark areas like attic hatches, basement rim joists, and interior wall cavities.
For a longer-term view on where homeowners tend to underinvest in routine upkeep, our article on home maintenance myths that cost homeowners money covers several related misconceptions worth reading before you plan your seasonal checklist.
Don't Seal Around Gas Appliances or Combustion Vents
Never caulk or weatherstrip around gas furnace flues, water heater vents, or any combustion appliance openings. These areas require controlled airflow for safe operation. Blocking them can cause dangerous carbon monoxide buildup. Leave all combustion air and exhaust openings entirely unobstructed, and consult a licensed HVAC technician if you have questions about your system's ventilation.
Once you've sealed the most significant leaks, keep an eye on your work. Caulk and weatherstripping are not permanent - they compress, dry out, and crack over time. A quick annual inspection, ideally before heating or cooling season begins, will catch any failures before they become a bigger problem. The spring walkthrough guide in our article on what to inspect after a hard winter is a useful follow-up once the cold season passes.