

Key Takeaways
Why Mulching Is About More Than Appearances
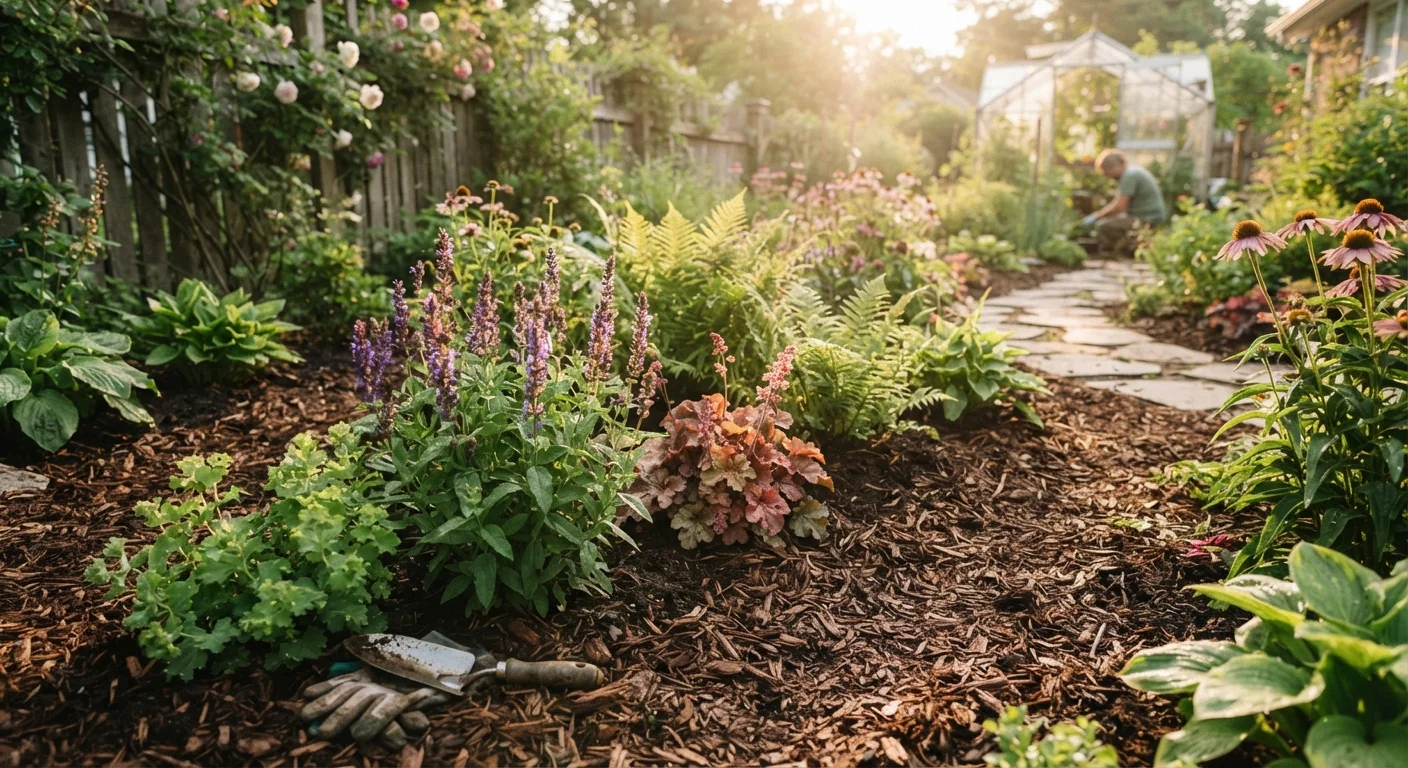
Many gardeners reach for mulch because it makes beds look finished and tidy. That's a valid reason - but it undersells what mulch actually does beneath the surface. A correctly applied mulch layer moderates soil temperature, reduces moisture evaporation by a significant margin, suppresses weed seed germination, and feeds soil biology as it decomposes. Applied incorrectly, though, it can trap disease, starve roots of oxygen, or delay plant establishment in spring.
The key insight is that mulching isn't a single annual chore - it's an ongoing practice tuned to each season's specific conditions. A summer garden bed has different needs than a bed heading into a hard winter freeze, and your mulching approach should reflect that. This is also relevant if you're starting a vegetable garden from scratch, where soil health and moisture consistency are critical from day one.
Refresh, Don't Always Replace
Before adding new mulch each season, rake and fluff the existing layer. If it's still 1-2 inches deep and not compacted or moldy, you may only need to top it off rather than replace it entirely. This saves time and material while keeping the bed functioning well.
What You'll Need Before You Start
Mulching requires minimal equipment, but having the right tools on hand makes the job faster and more precise. Gather everything listed below before you begin, and confirm you've prepared the bed properly.
What you will need
Garden rake
Spread mulch evenly across the bed and fluff existing layers before topping up.
Wheelbarrow
Transport bulk mulch from a pile or delivery to garden beds efficiently.
Tape measure or ruler
Check mulch depth to ensure you're hitting the 2-3 inch target without overloading.
Garden gloves
Protect hands from splinters, rough bark, and soil pathogens when handling mulch.
Hand cultivator
Loosen compacted mulch and break up any matted layers before refreshing.
Step-by-Step Mulching Instructions
Follow these steps in order for each seasonal mulching session. The process is the same regardless of season; what changes is the mulch depth, material choice, and timing considerations covered in Step 5.
Never Pile Mulch Against Stems or Trunks
Mulch volcanoes - deep mounds piled against tree trunks or plant stems - are one of the most common and damaging mulching mistakes. Constant moisture against bark creates conditions for rot, fungal disease, and pest colonization. Always leave a clear gap of at least 2-3 inches around any stem or trunk, regardless of the season.
Clear and prepare the bed
Before any mulch goes down, remove weeds by the root - mulch will suppress future germination but won't kill established weeds already in the soil. Rake out dead plant debris, spent annuals, or fallen leaves that could harbor disease. If you're mulching in spring, check our garden bed preparation checklist for a full pre-planting rundown.
Choose the right mulch for the season
Not all mulch materials behave the same way. Shredded wood or bark chips are durable and long-lasting - good for year-round beds. Straw is light and ideal for vegetable gardens in summer and winter. Shredded leaves decompose quickly, adding organic matter - excellent for fall application. Avoid dyed or treated mulches if you're growing edibles, and skip gravel or rubber in beds where you want soil improvement over time.
Apply at the correct depth
Spread mulch to a depth of 2-3 inches across the bed. Use your ruler or tape measure to spot-check in several areas. In areas with heavy rainfall or poor drainage, stay closer to 2 inches. In hot, dry climates, 3 inches gives better moisture retention. Overapplication - 4 or more inches - can prevent rain from penetrating to the root zone and promote anaerobic conditions in the soil.
Keep mulch away from stems and trunks
Pull the mulch back at least 2-3 inches from any plant stem, shrub crown, or tree trunk. This is especially important for woody plants, where bark moisture can lead to rot and create entry points for pests. A ring of clear soil around each plant stem is a simple but critical habit.
Adjust your approach by season
Spring: Wait until soil has warmed before mulching - usually a few weeks after your last frost date. Mulching cold, wet soil delays warming and can slow plant establishment. Summer: Top up mulch to the full 2-3 inches to reduce water evaporation and moderate soil temperature. Pair this with smart watering habits - see our article on watering habits that do more harm than good. Fall: After the first frost, add a fresh layer over perennials and bulbs to insulate roots through freeze-thaw cycles. Winter: In colder USDA zones, maintain a 3-inch layer over dormant beds. In mild climates, a light refresh is often enough.
Monitor and refresh throughout the year
Organic mulch breaks down - which is a feature, not a flaw, since it improves soil structure over time. Check depth each season and top up as needed. Fluff compacted areas with a rake to maintain air circulation. If you notice a white mycelium layer underneath, this is usually a harmless sign of decomposition, not disease. However, if mulch smells sour (anaerobic decomposition), spread it out to air before reapplying. For broader landscape strategies that reduce maintenance effort, consider reading about low-maintenance landscaping approaches.
How Mulch Fits Into Your Broader Garden Care
Mulching works best as part of a coordinated approach to garden health. It pairs naturally with consistent, deep watering rather than frequent light watering - a principle covered in our guide on watering habits that harm rather than help. It also complements good soil nutrition: mulch improves soil structure over time, but it doesn't replace compost or fertilizer when nutrients are needed. For a clear breakdown of how those inputs differ, see our article on compost vs. fertilizer.
If you grow in raised beds, note that they dry out faster than in-ground beds, which makes consistent mulching even more important - something worth weighing alongside the full trade-offs of raised bed gardening. And if you're looking to reduce overall maintenance burden, well-mulched beds are a cornerstone of any low-maintenance landscaping strategy.